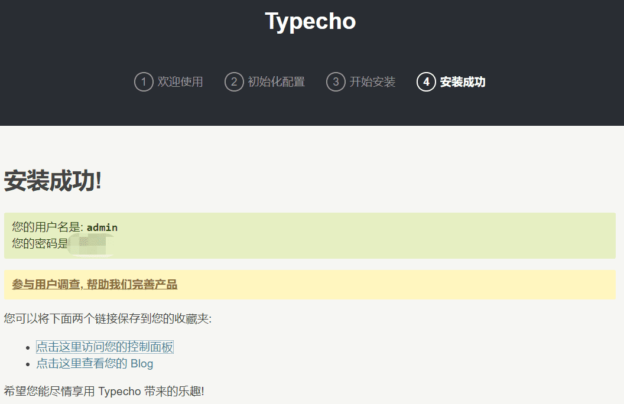
本文基于wlnmp一键安装包搭建typecho博客网站,当前安装系统CentOS7,typecho版本1.1-17.10.30
typecho官方下载:https://typecho.org/
一些题外话:
如果你当前的服务器VPS内存只有1GB,建议php版本使用7.1,MySQL版本使用5.5,这样搭建好一个typecho仅需512内存就可以顺利跑起来。
如果你当前的服务器VPS内存大于1GB,建议php版本使用7.4,MySQL版本使用5.7,这样会更加的安全,性能也会更好。
本文以php7.4、MySQL5.7为例
1、关闭selinux,关闭防火墙
|
1 2 3 4 |
setenforce 0 sed -i 's/SELINUX=enforcing/SELINUX=disabled/' /etc/selinux/config systemctl stop firewalld systemctl disable firewalld |
或自行设置放开相关端口,此处不过多说明
2、添加epel源
|
1 |
yum install epel-release -y |
3、添加wlnmp一键安装包源
|
1 |
rpm -ivh https://mirrors.wlnmp.com/centos/wlnmp-release-centos.noarch.rpm |
4、安装nginx、php7.4、MySQL5.7
|
1 |
yum install wnginx wphp74 wmysql57 -y |
5、下载typecho包,并刷新权限
|
1 2 3 4 5 6 |
mkdir /data/www cd /data/www/ wget https://down.whsir.com/downloads/1.1-17.10.30-release.tar.gz tar xf 1.1-17.10.30-release.tar.gz mv 1.1-17.10.30-release/build/* /data/www chown -R www.www /data/www |
6、配置MySQL数据库
默认密码为空,修改默认root密码,添加typecho数据库
|
1 2 3 4 |
mysql -uroot -p mysql> set password = password('wlnmp'); mysql> create database typecho; mysql> exit |
7、配置nginx
|
1 |
vi /usr/local/nginx/conf/vhost/demo.conf |
注意:server_name中的地址,改成你自己的,以及php的版本(/tmp/php-fpm74.sock),如果是php5.6的版本,就改成/tmp/php-fpm56.sock
|
1 2 3 4 5 6 7 8 9 10 11 12 13 14 15 16 17 18 19 20 21 22 23 24 25 26 27 28 29 30 31 32 33 34 35 36 37 38 39 40 41 |
server { listen 80; server_name 10.10.10.100; index index.html index.htm index.php; root /data/www; error_page 500 502 503 504 /50x.html; location / { if (!-e $request_filename) { rewrite ^(.*)$ /index.php$1 last; } try_files $uri $uri/ =404; } location ~ [^/]\.php(/|$) { #try_files $uri =404; try_files $fastcgi_script_name =404; fastcgi_pass unix:/tmp/php-fpm74.sock; fastcgi_index index.php; include fastcgi.conf; fastcgi_split_path_info ^(.+?\.php)(/.*)$; set $path_info $fastcgi_path_info; fastcgi_param PATH_INFO $path_info; } location ~ .*\.(gif|jpg|jpeg|png|bmp|swf)$ { expires 30d; } location ~ .*\.(js|css)?$ { expires 12h; } access_log /data/logs/nginx/demo_access.log; error_log /data/logs/nginx/demo_error.log; } |
8、保存退出重启nginx
|
1 |
/etc/init.d/nginx restart |
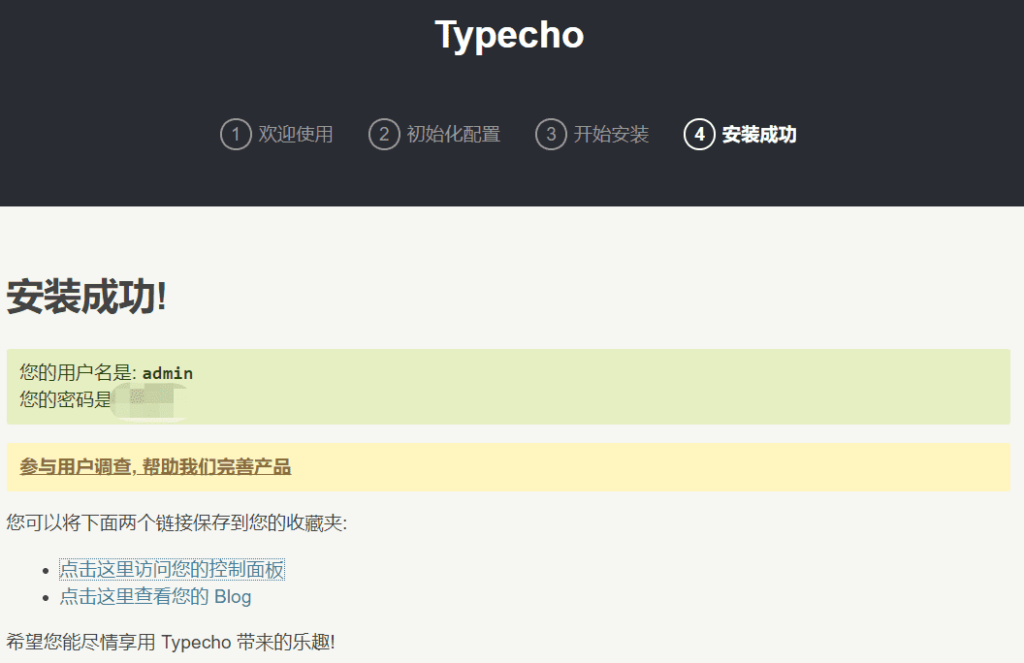
访问地址开始安装
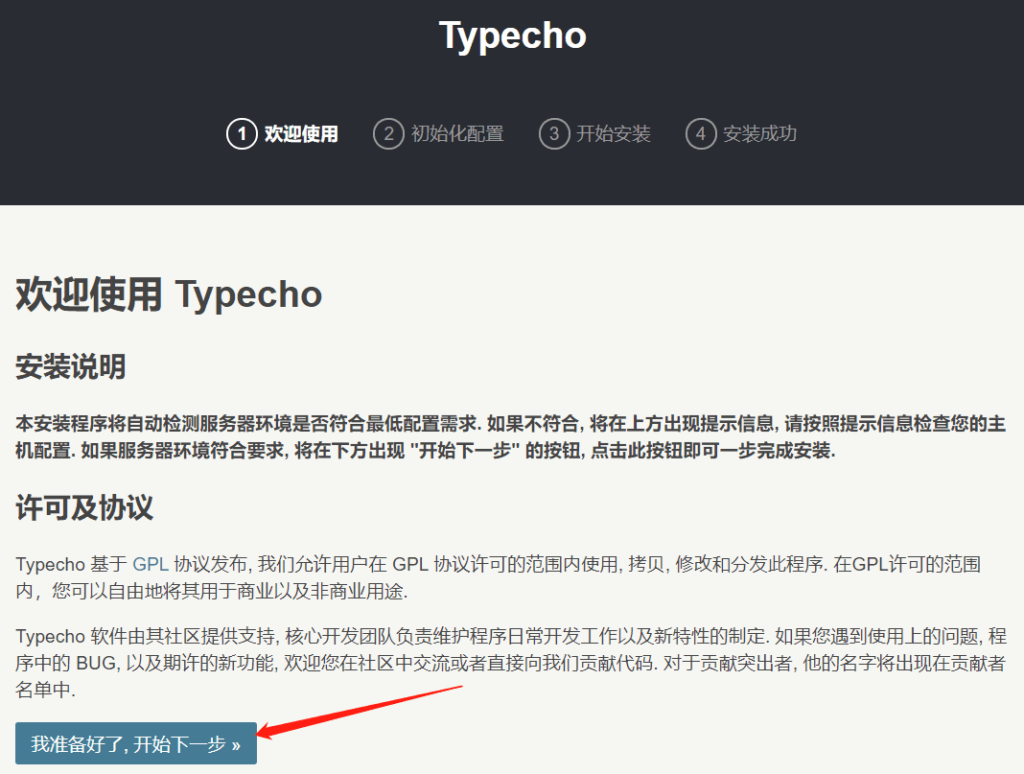
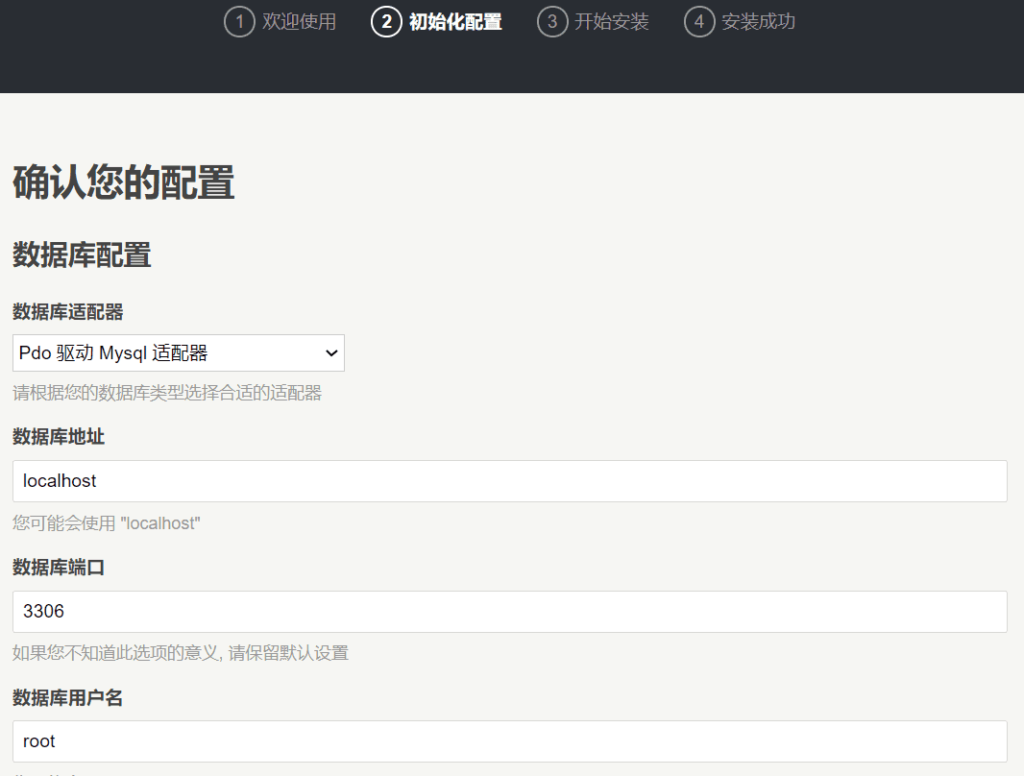
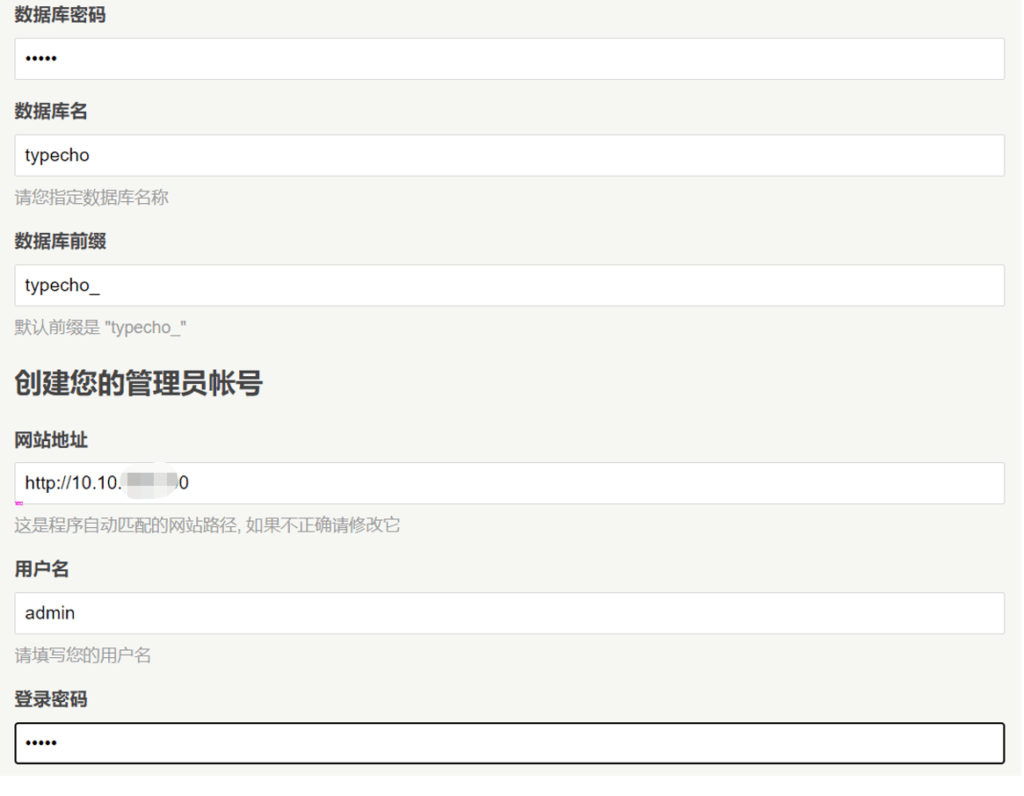
备注:
可修改该文件/usr/local/php/etc/php.ini,找到以下内容,在前面增加;符号,然后重启php(/etc/init.d/php-fpm74 restart)。disable_functions表示屏蔽一些危险的函数,如果小白可直接屏蔽掉。
|
1 |
;disable_functions = passthru,exec,system,chroot,chgrp,chown,shell_exec,proc_open,proc_get_status,popen,ini_alter,ini_restore,dl,openlog,syslog,readlink,symlink,popepassthru,stream_socket_server |

